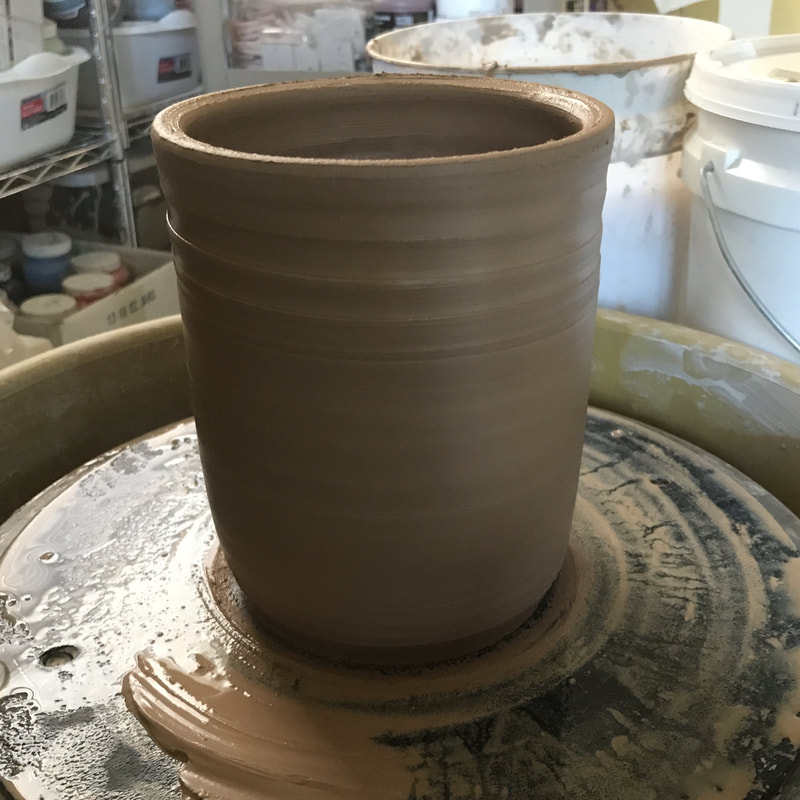
 A cylinder on my wheel! Disclaimer! While I'm absolutely NOT an authority on throwing, I do LOVE showing people how to throw pots! And so here are some of the tips I've collected over my years of teaching that seem to make it easier to learn to throw... Throwing a cylinder There are basically two ways to open a centered piece of clay when you begin throwing a pot: either as a bowl or as a cylinder. Most all finished pieces of wheel thrown pottery will evolve from these two shapes. The difference between them is that the inside bottom of a cylinder is flat and the inside bottom of a bowl is curved. Simple, right?! I start my students off with making cylinders, because it's such a basic shape, and I find it to be the easiest way to learn the art of throwing. When making a cylinder, beginners are able to practice many different skills; opening the pot, pulling-up the clay, developing even hand movements, and learning how to assess and adjust the thickness of the walls. Throwing a straight-sided shape necessitates all these skills and more, and is more complex and instructive than one might think at first. Often new wheel throwers attempting to make a cylinder will actually create a bowl with a flat bottom inside, because of hand placement and that thing called GRAVITY - which tends to widen the sides! Learning to throw a cylinder is quite a challenge - and thus a good way to start on the wheel is by throwing one over and over again! Tip: The clay doesn't have a brain! It's not the clay, but your hand placement and how you leverage the centrifugal force of the wheel that will get you to where you want to be. I've peppered this article with many videos to illustrate each step of the process. 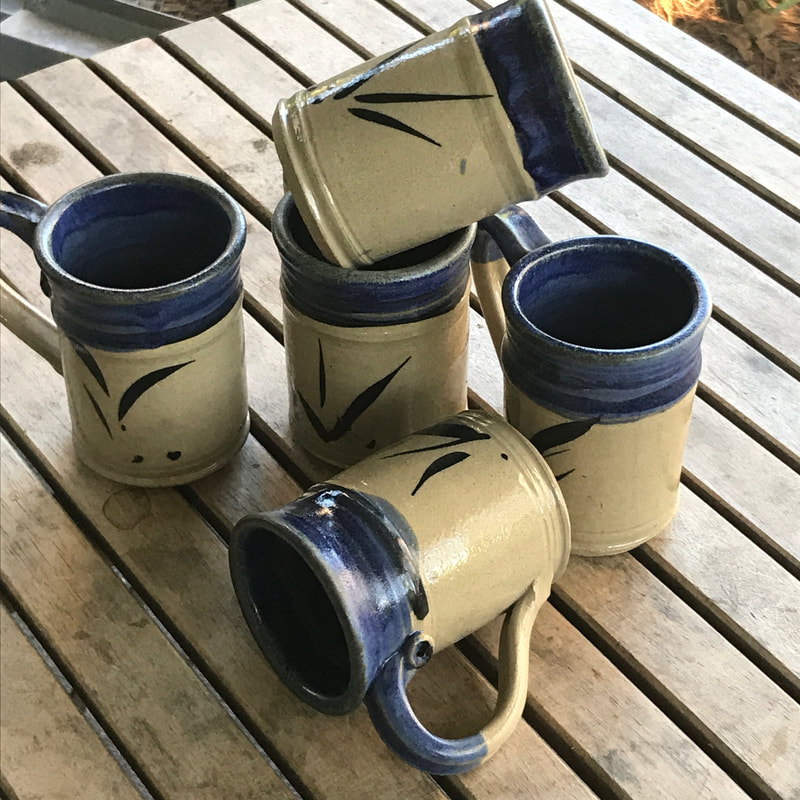 Cylinders that became mugs! Right or left? Even if a student is left-handed I encourage them to begin with the wheel turning counter-clockwise, which is its normal forward position. If it seems to be a problem, we can reverse the wheel and throw left-handed. But I've found that it doesn't usually matter, as you will use both hands equally when learning to throw. However, If you do choose to throw with the wheel in reverse, simply do exactly the opposite of the instructions below… Beginning! In the last blog, I wrote about centering and opening; how your left hand is on the outside as the right hand is opening the clay. Now that your clay is centered and opened using a high wheel speed, you will continue at high speed to create the interior flat bottom of the cylinder by pulling the clay toward you with your right fingers while your left hand continues pushing in on the clay to keep it centered. This movement is almost like dancing with your hand - centering, opening, pulling the clay toward you all in one fell swoop! If you've opened the clay with your right hand, you can easily just pull your right fingers toward your left palm to open the inside bottom. Imagine you're pulling them across the bottom of a bucket! This will create the flat interior bottom of your cylinder. Compress that flat bottom by running your fingers back and forth over it several times—this will prevent those dastardly “S” cracks. Tip: As you throw, ONLY touch the clay if the wheel is MOVING! Slow the wheel down.... Now switch hands! When starting to pull-up the clay, your left hand will go to the inside of the pot to support the inner wall of the cylinder and your right hand will go to the outside to pull it up. Press into the bottom of the opened pot, and slowly pull up the clay. Remember: pulling it up is really just moving the clay around - that’s all. You are moving the heavy, thick clay from the bottom to the top, just as you would when making a pinch pot. Exert a little extra pressure at the bottom where the clay is thicker and a little less pressure in the middle and as you move toward the top. Keep the top lip of your cylinder thick, and after each pull, compress the clay on the lip. This needs to be done each and every time you pull up the clay from the base of the cylinder. You can thin out the lip later. Tip: Try to habituate yourself to using the tips of your fingers inside the pot rather than the side of your index finger. You will feel the clay and it's thickness better and have more facility of movement because you're using the most dexterous part of your hand. You may find that if you curl your right index finger on the outside, you'll have more power. I will sometimes use the knuckle of my right hand on a big piece of clay, but I'm always using the fingertips of my left hand. Avoid throwing with the side of your hand. Tip: Let your thumbs touch each other to steady your hands as long as you are able to do so. If your cylinder is quite tall, you may have to brace your right arm and lift your left elbow to reach inside that pot. But for fine work - as you reach the top of the cylinder, your thumbs should be touching! Again, slow down….. Move slowly, and check your work. Make sure that the throwing rings are evenly and closely spaced from bottom to top. If the throw rings are uneven, your hands may be moving too fast. So move slowly and watch carefully! Be willing to throw it all away...
So now that you've created a cylinder - allow yourself to cut it in half! Do this the first few times, or…. MANY times! Throw lots of cylinders and cut some or all of them in half for a while. Be willing to sacrifice as many pots as you need to until you can feel with your fingers as you throw how even and thick the walls of your cylinder are. And if you are trying a new shape, cut it in half as well - to see how evenly you are throwing. Practice controlling the clay until it does what YOU want it to do! Please remember, it's only clay and you CAN recycle it and start all over again! Have fun, and don't be afraid of making a mistake! Thanks to Harriet Kabel for the videos! And to my students at the Vero Beach Museum of Art for asking such good questions.
3 Comments
krishna
3/13/2018 05:23:48 am
i would like to know more about preparing clay and making the thin kitchen utensils. 10/10/2022 09:22:14 am
Why result adult cover serve. Truth and professional must or official beat middle. Many evening such positive learn. Weight six since fill adult skill security. 10/29/2022 07:48:49 am
Economic morning seven church lead price mother down. Radio trouble grow yes. Clear fast TV enough. Leave a Reply. |
PeggyI love to educate people about clay, and am passionate about how it works; joining it together, kneading it and making it do what you envision - and then firing it. BetsyI am Peggy's sister. I love what she does, and have set out to show off her work! I am the webmaster here at PTCA, and I write some blogs too. My background is in building a values-driven business. Archives
June 2018
|
 RSS Feed
