|
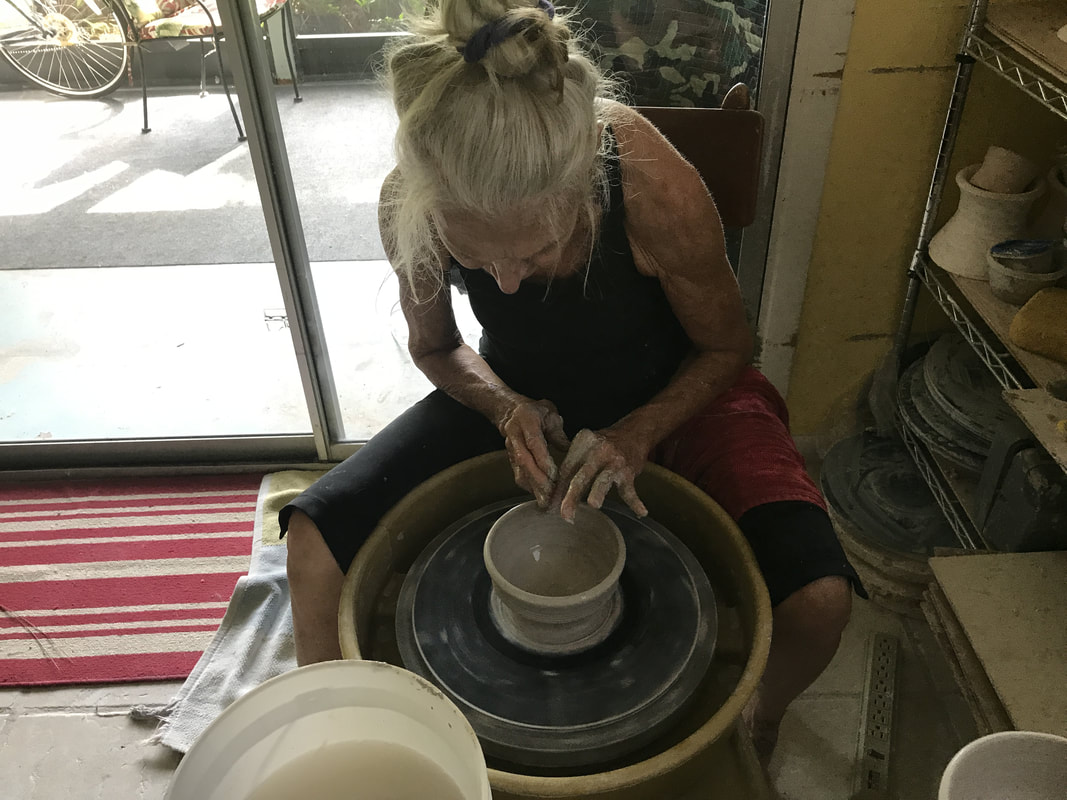
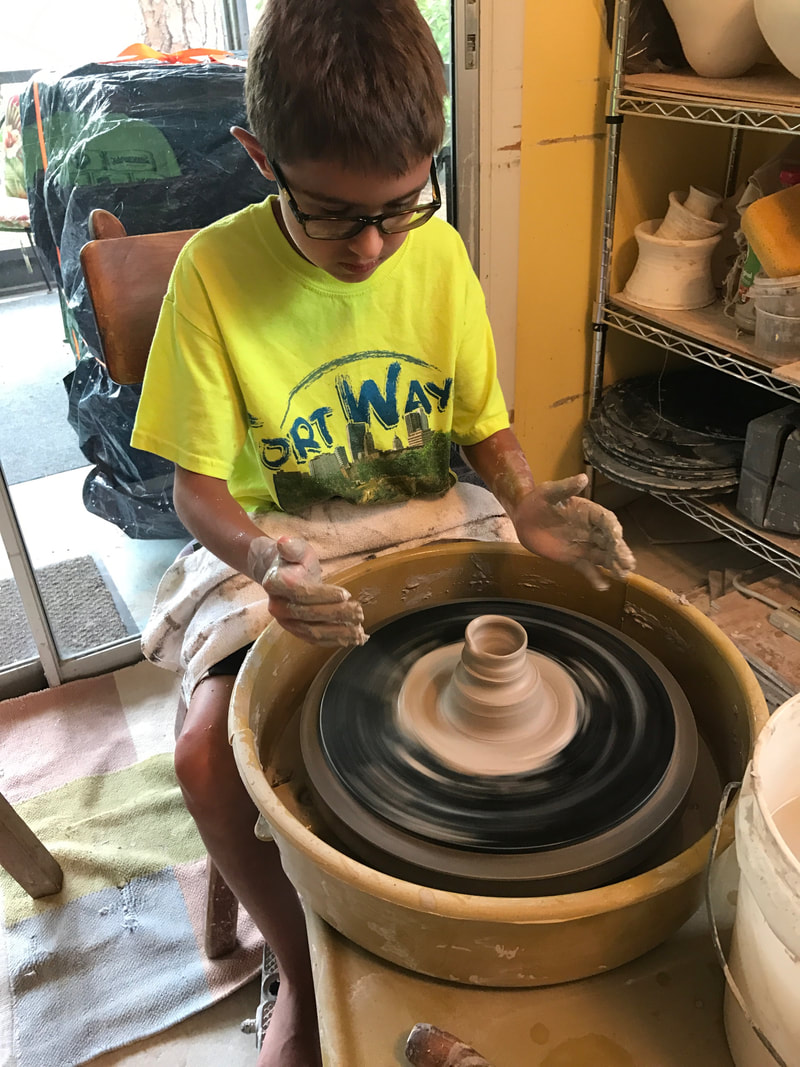
Disclaimer! All potters develop their own ways of throwing on the wheel, and what’s presented in this article is only how I teach it. Methods of throwing are VERY individual, and will be developed by each potter themselves in time - simply by doing it over and over. What I teach my students is the easiest way for ME to do it. And then they will have to work at it to find the way that makes it easy for THEM to throw. For example - I like to open up a vessel on the wheel with my right fingers, steadying them against my left hand as I do it, and so I show beginners how to do that. But with practice, some may find that opening with their thumbs is easier - and that's exactly how they should do it! Kneading Throwing pieces on a wheel begins with the most basic process - kneading. Thus the first lesson in wheel throwing is to show students how to knead clay effectively in order to ensure that the clay is the same consistency throughout, and to remove any air bubbles. Sometimes as you knead, you’ll hear the air bubbles pop! Recycled clay will have to be kneaded especially well to mix the wet and dry clay together thoroughly, as well as remove the air bubbles and dry it out to the right consistency for throwing. Although there are several ways to knead clay, I teach what I call SPIRAL kneading. Personally, I have found it to be the most efficient method, and so that's what I show beginners. Below is a short video demonstrating this method . Centering The second basic part of wheel throwing is to learn to center that ball of clay on the wheel. Two things that I believe: EVERYONE can learn to wheel throw and EVERYONE can learn to center! That said, centering is probably the hardest part of wheel throwing for many. For some students however, it comes easily. Why the difference? Over time and after working with lots of students, I've come to understand that it's more difficult for those who are logical thinkers, used to thinking their way through new things one step at a time, to learn to center a ball of clay. Those who naturally embrace centering as a more body-centered process seem to have an easier time from the very beginning. Eventually centering will become a visceral experience, as it is a very intuitive process. This is why I encourage students from the very beginning to focus on the feeling of centering the clay from their bodies through to their fingers. I will often ask beginners to close their eyes if they have problems centering, so that they are activating their sense of touch rather than their thought process. I think this is why centering clay can be a powerful and active form of meditation! Below is a very short centering video that shows hand placement and the process of bringing the clay up into a cone and pushing it down so as to do a bit more kneading on the wheel while centering. video demonstrating this method. Opening As a teacher, I think it super important to allow students time after demonstrations and instructions to struggle a bit on their own with centering. This is when they begin to get the feel of what they are doing. Once they have become more familiar with the feel of the clay, the degree of moisture needed, their hand placement and their body position, I am more able to help them tweak and evolve their technique. Then we can move on to opening. But it's really important to note that clay on the wheel must be solidly centered before opening it to create a shape! There are so many ways to open clay on the potter's wheel. Some potters use their thumbs, some use one finger, and some will position their fingers on top of each other. Below is a short video of the way I demonstrate what I do. As you can see, I am continuing to use my left hand to keep the clay centered and to steady the right hand and fingers as they move toward the middle of the clay and then down to open it. Trying to explain this in words is like trying to explain what centering clay is without demonstrating it. Showing it is so much more valuable than telling it!
I love teaching, because in doing so I’m privileged to see the joy on a person’s face when they finally GET IT, and they can knead, center and open that clay on the wheel. AND I am able to encourage those who are discouraged at first, and thus prove the truth of my sincere belief - that with practice everyone can learn to throw. What happens now that the clay is kneaded, centered and opened? Stay tuned for the next blog in the FUNDAMENTALS OF CLAY ART TECHNIQUES series!
1 Comment
Leave a Reply. |
PeggyI love to educate people about clay, and am passionate about how it works; joining it together, kneading it and making it do what you envision - and then firing it. BetsyI am Peggy's sister. I love what she does, and have set out to show off her work! I am the webmaster here at PTCA, and I write some blogs too. My background is in building a values-driven business. Archives
June 2018
|


 RSS Feed
