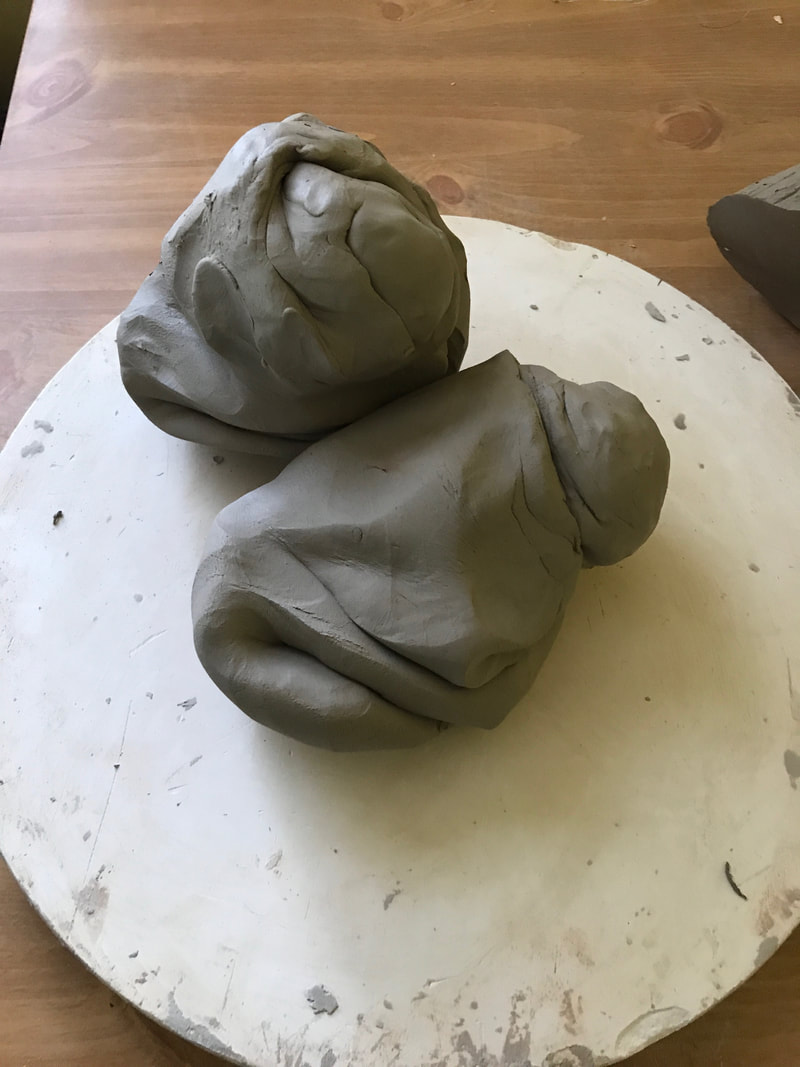
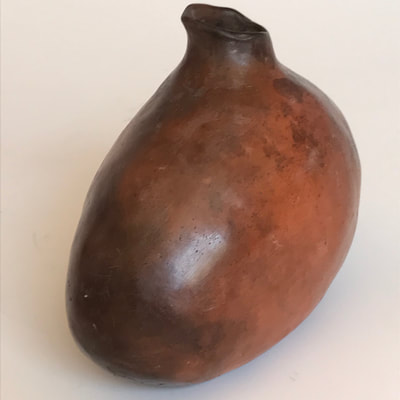
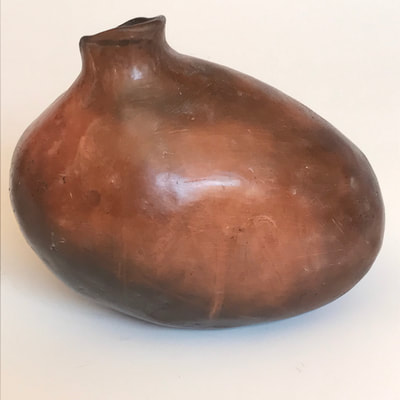
 Kneaded clay...what will it become? This is an explanation of why I start off all my beginning students with handbuilding. Some students feel they may be wasting time on learning handbuilding techniques, but I think handbuilding is the FOUNDATION of working with clay. This series is not meant to be a comprehensive course in ceramics. But since I've been making pottery and teaching clay courses for many years now, I want to share some of the insights I've gained. And by insights I mean things that I think make it easier to teach and to learn Clay Art. Wheel thrown pottery is always symmetrical. You can alter it on the wheel after throwing so that it's no longer symmetrical. Wheel throwing is essentially a production "sport", and an accomplished potter can throw many pots in quite a short period of time, repeating the same sizes and shapes over and over. This makes sense if you need to quickly produce 50 mugs, bowls, plates, pitchers or vases! But even if you envision yourself in the future to be wheel throwing exclusively, and your final goal is to be a throwing production potter - you will still benefit enormously from learning handbuilding techniques. 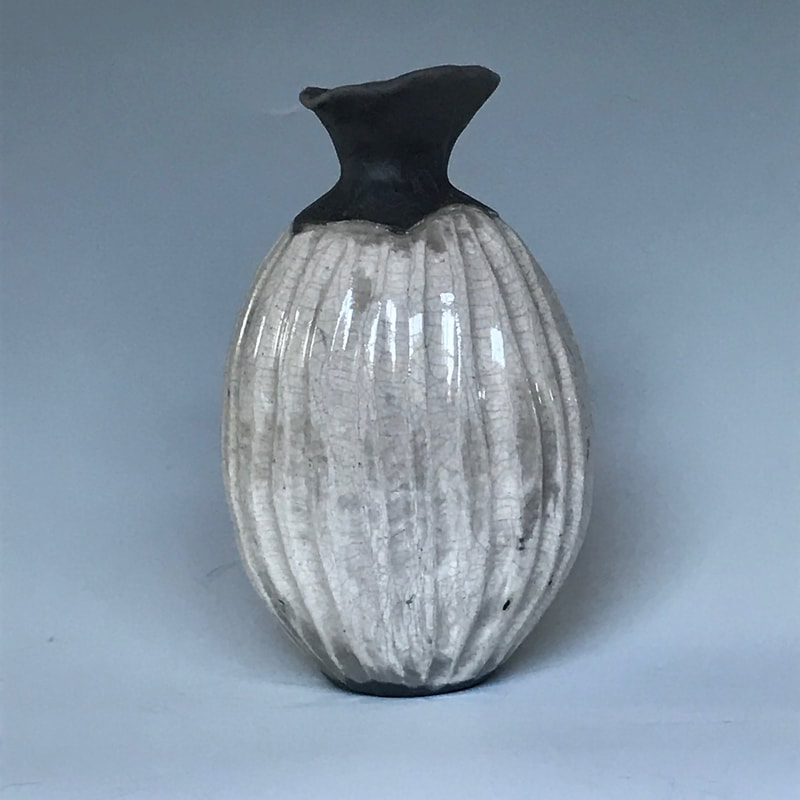 Pinch Pots Pinching pots is the probably the earliest method used to create clay vessels and will teach you LOTS about working with clay. Beginning with handbuilding, specifically pinch pots, builds traces from your brain to your fingertips. You will learn how much clay can stretch, how far you can coax it, and how thin it can become. Handbuilding pinch pots also teaches you how to create a shape with your hands and how to control the creation of that shape. The shapes you can build by pinching are endless. This is why, in my beginner classes (kids AND adults), I always start by making pinch pots. Even students who have been in my classes often choose to build pinch pots along with the beginners in order to expand their abilities, make more complex shapes and experiment with processes of smoothing and finishing. There's always room for improving technique! I love a project where students build two pinch pots of the same size and join them together, subtly moving into the process of joining pieces of clay together. From this egg shape there are so many possibilities: vases, sculptures, teapots... It seems a logical transition from here to coil pots .... Coil Pots Coiling is a simple matter of forming "snakes" of clay by rolling a lump of clay first in your hands and then against a flat surface. These coils can be small and thin, the size of your thumb, or VERY large, and either rounded or flattened. They are put together, one atop the other and joined by rubbing the coils together and pinching them. The form is then shaped by repeatedly adding coils, joining them and turning them as you pinch. Thus, coiling and pinching methods are combined to create either asymmetrical OR symmetrical vessels or pots. Making a successful symmetrical coil pot is quite a challenge. Once students have done them, I encourage them to design an asymmetrical pot in order to perceive and appreciate the beauty of asymmetry. Since you can be symmetrical on the wheel, why not explore how natural and exciting building an asymetrical work of art can be?! Coil or pinch pots can be very thin, very smooth, very large or very small. The coils can be decorative on the outside or on the inside (a bowl, for instance). They can be built freehand, or by using the inside or outside of a shape. They can be many and various different shapes that are all basically rounded. Let's move on to slabs ..... 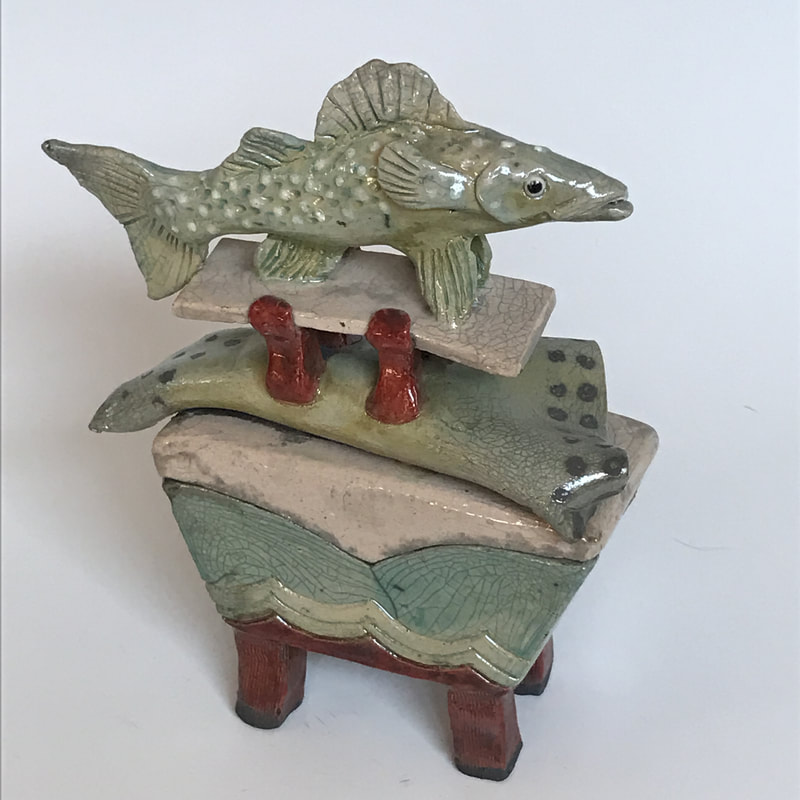 Barracuda Story Box, built from slabs! Slabs! Slabs are essential if you want to create flat shapes. Slabs are pieces of clay rolled or slammed out flat. You can use a slab roller, a rolling pin or slam the clay against a flat surface, slowly expanding the shape. Slabs can be used to create rounded shapes by rolling them around a cylinder and joining them at the edge. They can be shaped by being draped inside or outside of a mold to create platters or bowls. Almost anything can be used as a mold: a plaster mold created just for that purpose or a bowl, a platter, a pan, a wok! Bas-relief tiles begin with slabs. You can also build boxes from slabs by rolling out a slab and cutting the sides, joining them together when they've dried to leather hard. Boxes can be tall and thin, short and squat, many-sided or cubed. Boxes can become bird houses, fairy houses, treasure boxes or containers of secrets! 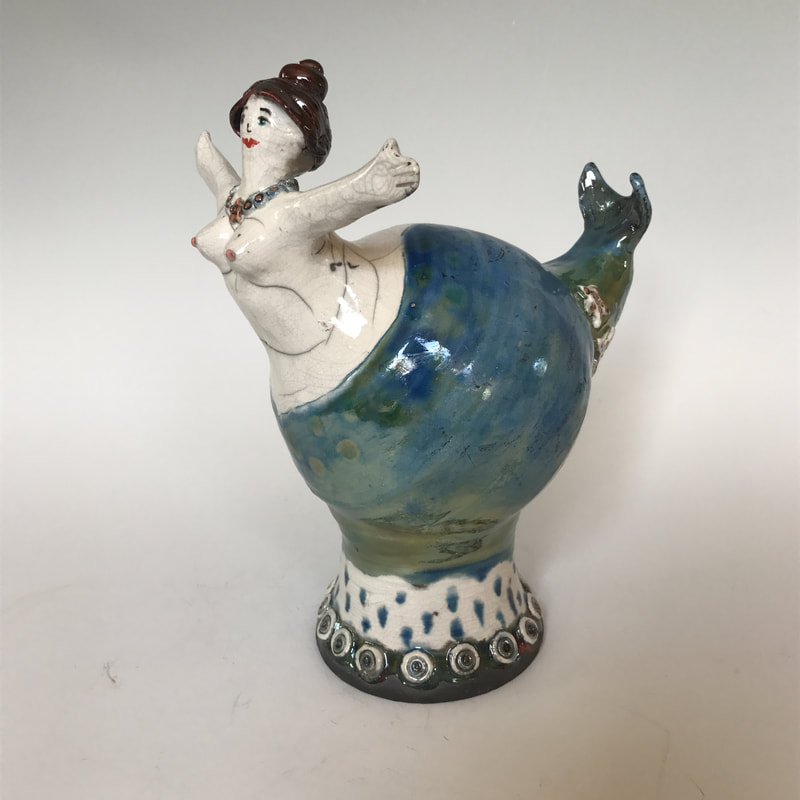 Sirena, a mermaid sculpture that is wheel thrown, pinch, coil and slab! Sirena, a mermaid sculpture that is wheel thrown, pinch, coil and slab!
In conclusion …. You can combine ALL these handbuilding techniques with wheel throwing. Knowing how to hand build and becoming familiar with the techniques above will expand your horizons and your ability to create even more shapes. My birds, mermaids, loons (soon on the website!) and hanging animals (soon on my new Etsy page!) all began as wheel thrown pieces. The necks and heads are then coiled and pinched, and the wings made from slabs. The feet (those of my pieces who are lucky enough to have them) are a combination of pinch, coil and slab techniques! Next in the Fundamentals of Clay Techniques series, I'll talk about my own method of teaching Wheel Throwing - stay tuned!
0 Comments
Leave a Reply. |
PeggyI love to educate people about clay, and am passionate about how it works; joining it together, kneading it and making it do what you envision - and then firing it. BetsyI am Peggy's sister. I love what she does, and have set out to show off her work! I am the webmaster here at PTCA, and I write some blogs too. My background is in building a values-driven business. Archives
June 2018
|
 RSS Feed
